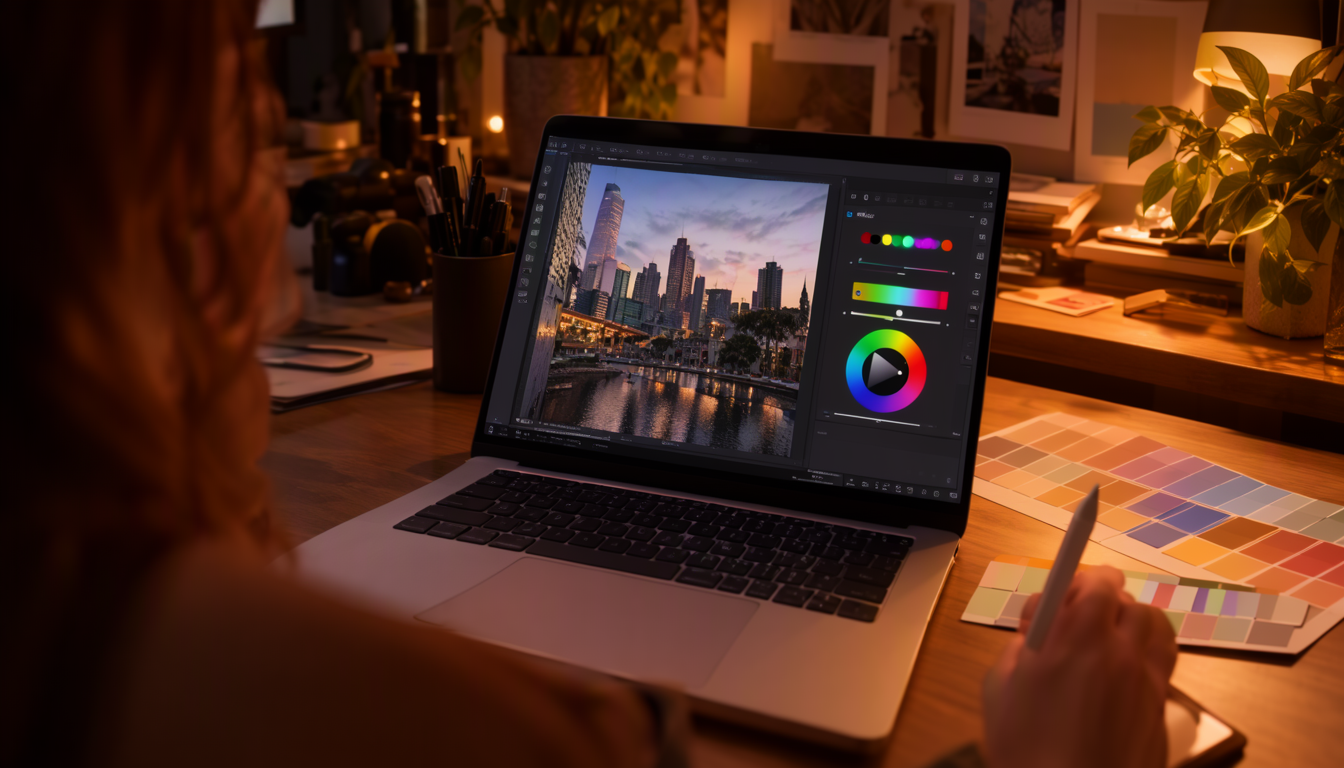
The AI did its job. Your subject is cut out, the background is gone, and you're ready to paste it onto something new. Except when you do, it looks off. A faint halo around the hair, a missing shadow, colors that don't quite match the backdrop. The gap between "technically removed" and "looks like it belongs" is where post-processing comes in. Here's how to close it without spending an hour on one image.
Why the first pass needs a human eye
A background removal model predicts which pixels belong to the subject, and it's very good at that for most of the image. But it doesn't know anything about your final composition: where the light is coming from in the new scene, what surface the object will sit on, or whether a two-pixel halo will be visible at the size you're using it.
Those are context problems, and context is exactly what a single-image model can't see. So the workflow that works is this: let the AI do the heavy lifting, then spend a few minutes on the things only you know about.
Clean up the edges before anything else
Start by zooming in to 200% or more and walking the outline of your subject with your eyes. You're looking for three things: stray background pixels that survived (little islands of the old color), halos around hair or fur, and any place where the edge wavers between too tight and too loose.
Most editors let you fix all three on the mask itself. Paint white to keep a pixel that got chopped off, paint black to erase a stray fragment, and use a soft brush for anything fuzzy. If your tool has a refine or edge-smoothing mode, run it first and then do the manual pass; it's faster than starting from scratch. A light feather of one or two pixels on the final edge also helps it sit naturally against a new background instead of looking laser-cut.
Give it a shadow so it stops floating
A flat cut-out with nothing under it reads as "sticker" rather than "object in a scene". The fix is a soft shadow, and you don't need to be an artist to fake one convincingly.
The quick version: duplicate your subject layer, fill the copy with black (or set its blend mode to multiply), drop the opacity to somewhere around 30%, blur it until the edges are soft, then slide it down and slightly to one side so it looks like light is coming from above. The direction should match whatever lighting your new background implies. If you're placing a product on a surface, keep the shadow tight under the base; if the subject is standing in open space, let it fall further away and fade out more.
Match the light and the color temperature
This is the step people skip most, and it's why composites look pasted-on even when the edges are perfect. A photo shot in warm afternoon sun carries a yellow cast that will fight against a cool gray studio background.
Before you finalize, compare your subject to its new backdrop at normal zoom. If one looks warmer or darker than the other, nudge it: white balance or color temperature sliders first, then small adjustments to brightness and contrast if needed. You're not trying to make the subject look like it was shot in that studio; you're just removing the obvious mismatch. Two seconds of adjustment here saves your eye from doing a double-take every time it looks at the image.
Sharpen carefully (or skip it)
Cut-outs can come out slightly softer than the original, especially if the model smoothed an edge to hide uncertainty. A light sharpening pass (unsharp mask with modest settings) brings back some of that detail. But overdoing it creates halos right where you just spent time cleaning edges, so apply it gently and check at 100% zoom before you commit. If the image looks fine as-is, leave it alone; less is usually more here.
Export in a format that survives
Last step, and the one that undoes everything if you get it wrong: file format. PNG keeps transparency, so any cut-out that will sit on top of another background needs to be a PNG. JPEG has no alpha channel at all, which means your transparent area gets filled with white (or black) the moment you save.
Export at the original resolution of your source image unless you have a specific reason to downscale, and if you're going straight onto a permanent solid-color background, a high-quality JPEG is fine and much smaller. When in doubt: PNG. The extra megabytes are cheap compared with discovering your "transparent" cut-out has a white box around it.
A realistic workflow for busy people
If you're doing this on more than one image, the routine gets boring fast, which is good news. Remove backgrounds first and batch them if your tool allows. Then run the same passes on each: edge cleanup, shadow, color match, sharpen check, export format. A couple of minutes per image once you've done it a few times, and every cut-out ends up at the same quality instead of depending on how careful you felt that day.
The AI gets you most of the way in seconds; these steps are the last bit that decides whether the result looks professional or just processed. If you've got a stack of photos waiting for this treatment, SimpleBGRemover will knock out the first part free in about ten seconds each and leave you with clean PNGs to polish exactly like this.