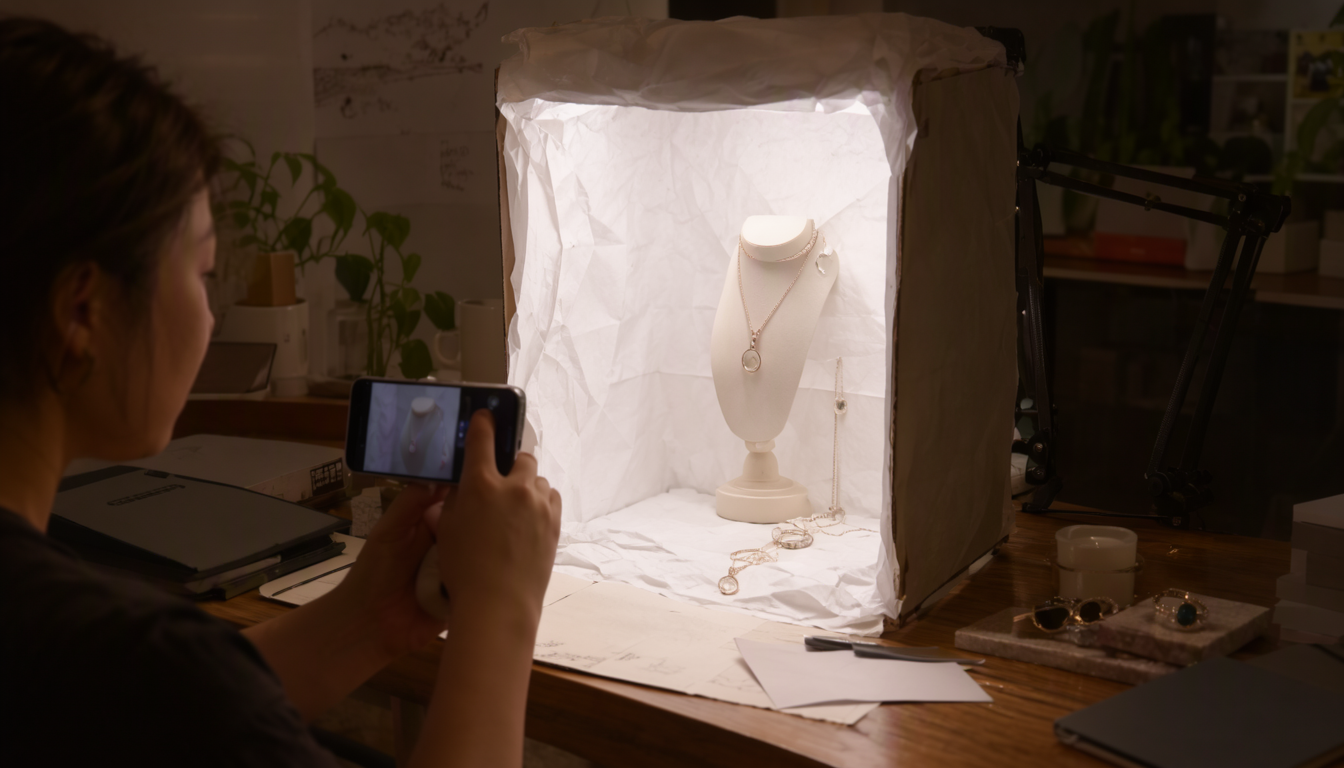
You don't need a studio, a ring light, or a camera you can barely afford. A phone, a window, and about twenty minutes will get your product photos to the point where buyers trust them. The trick most people miss is that the background doesn't matter at all, because you're going to remove it anyway. Here's the whole workflow from messy kitchen table to listing-ready image.
Your phone is already good enough
Modern phones shoot 12 megapixels or more, which means a typical photo comes out around 4000 pixels wide. Web listings need far less than that; Etsy recommends at least around 2000 pixels on the longest side for zoom, and most platforms display images much smaller still. Your phone has several times the resolution you'll ever use, so stop waiting to "get a real camera" and start shooting today.
Two settings worth checking before your first shot: - If HDR is available and your subject sits small against a bright window, consider turning it off; aggressive tone mapping can flatten detail on products. (If you don't know where the setting lives, skip this; phones make reasonable defaults.) - Use the highest quality photo mode rather than burst or low-power modes when you're doing deliberate product shots.
And clean your lens. Seriously. A smudged phone camera is one of the most common causes of soft, hazy product photos, and a shirt sleeve fixes it in five seconds.
Lighting with a window: the whole trick
Studio lighting exists to imitate one thing: big, soft, directional light. A window on an overcast day gives you exactly that for free. The setup takes two minutes: 1. Put your product near the window, not in direct sun. Direct sunlight makes hard shadows and blown-out highlights; diffused daylight is soft and even. 2. Angle the product so light comes from one side (about 45 degrees). Side lighting gives objects dimension; flat straight-on lighting makes everything look like a sticker. 3. Put something white on the shadow side: a sheet of paper, a foam board, even a white pillow. It bounces light back into the shadows and fills them in without any equipment.
Overcast days are secretly the best photography days for this, because the whole sky acts like one giant softbox. If you're shooting indoors with ceiling lights on, watch out for mixed color temperatures: warm bulbs plus cool daylight will give your product a weird yellow cast that's annoying to fix later. Pick one light source and use it.
Composition basics that take five minutes
- Turn on the grid lines in your camera app (they're there by default) and keep your subject centered or aligned with a line. Straight horizons and verticals read as "professional" before anyone can say why.
- Shoot flat products (prints, posters, fabric) from directly above, phone parallel to the surface. A slight angle makes flat things look warped.
- For three-dimensional objects, shoot at about 45 degrees for your main shot; it shows shape and texture better than a straight-on view.
- Leave space around the subject. You'll crop later, and you want room to reframe without cutting anything off.
The background doesn't matter (that's the point)
Here's where budget product photography gets easy: because you're removing the background in post, your "studio backdrop" can be whatever is cleanest at hand. A plain wall, a white sheet, a tablecloth, even a cardboard box with the flaps folded down. The only requirements are that it doesn't match the subject's color too closely (contrast helps the mask prediction) and that nothing important is behind your product.
This flips the usual advice on its head. Traditional guides tell you to spend money on studio paper backdrops and light tents. With background removal in the workflow, that money buys you almost nothing; a free backdrop plus a free remover gets you the same clean result. Spend your budget on lighting (a cheap reflector board) instead of scenery.
Consistency is what actually looks professional
One good photo looks nice. Ten matching photos look like a brand. The difference between "nice" and "brand" is all about repetition: - Same light position for every shot in the catalog. Set up your window once, then don't touch it until the shoot is done. - Same camera height and distance. Stack some books to hold your phone at the right level; a tripod isn't required if you're consistent. - Same background treatment on every image (all cutouts on white, or all on light gray). Mixed treatments in one listing grid read as amateur even when each photo is individually good.
Shoot all angles of a product in one sitting: front, back, side, detail close-up, and one "in use" shot with real context. That last one matters more than people think; buyers want to see scale and setting, not just the object floating on white.
The finishing step: remove the background
Once you have your photos, cleanup takes seconds per image. Upload each one to a free background remover, download the PNG, place it on your chosen listing background with a soft shadow if you want extra polish, and export at around 2500 pixels wide for web use. The whole post-processing pass for a ten-photo catalog is usually under half an hour, most of which is arranging files rather than editing.
What this costs in total
A window (free), a sheet of paper as reflector (free or a few dollars), twenty minutes per product, and a free tool for the background removal. That's the entire budget. The professional look comes from consistency and light direction, not gear; anyone can copy this setup with what they already own. If your first attempt looks rough, it's almost always one of three things: dirty lens, mixed lighting, or inconsistent angles between shots. Fix those before you buy anything.
The background removal step is the part of this workflow that used to be a bottleneck, and now it's just an upload-and-download away. If your first product photo is sitting on your phone with a kitchen table behind it, SimpleBGRemover will clean it up free in about ten seconds; everything else in this guide costs you time, not money.